In the tutorial on Designing SceneXCore Apparel, I explain how to convert any photo to a 3 color separation in Photoshop. Which then enables you to take those layers and Live Trace them in Illustrator. But it was a little more confusing than it needed to be. I mentioned creating an action for it in Photoshop and have had numerous people ask me if I could send them the action. So I went ahead and saved it out and am sharing it with you.
To install the action, the easiest way is to open Photoshop, and then physically drag and drop the gomedia3color.atn file into your open Photoshop window. And it will automatically add the action to your actions palette.
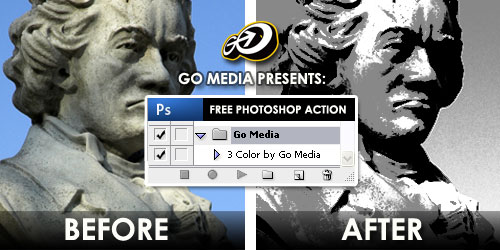
Note: Sometimes after you complete the action, depending on how you have your layers set up, you might have to rearrange the 3 new layers it creates. The 3 new layers are the black, white, and grey layers. And they might be out of order. So you can figure it out once you run the action.
The post Free: Photoshop Action – 3 Color appeared first on GoMediaZine.


